7. MEASURING VIOLIN SOUNPOST ANGLE THE HARD WAY CONTINUE
|
|
violin tools
violin tools from violin4u


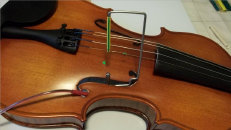
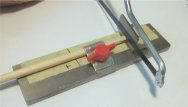

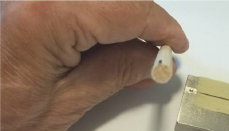
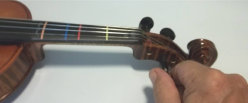
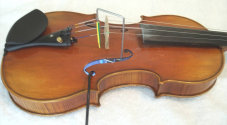
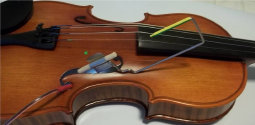
- MEASURING ANGLE THE HARD WAY
Attach swivel cap to the body of the Master Gauge. Swivel Cap fits at stationary bal. Mount the gauge in the inserting tool, with the swivel cap facing to the bottom. The gauge has a line or a dot across its length. Align the gauge so the line points towards the lowest part of violin,
8. Insert the Gauge inside the Sound Box. Make sure the extension arm at the Sound
Post Setter is pointing to the top mark at the belly, and the bottom swivel is at the mark inside the bottom. Push down on the Inserter tool to set the Swivel Cap in contact with the inside back. Pull up on the inserter handle to make the gauge as short as possible; this will help withdrawal of the gauge without disturbing the Swivel Cap. 9. Mount master gauge with Swivel Cap pointing up. Use similar procedure to obtain contact angle under the belly of violin.
10. Attach resolution plate, set close to length mark, trace 2 points across the plate. Use a ruler to draw a line crossing the center point and parallel to plate marks. Mark where Top and B0ttom will point to.
11. Repeat procedure as in step 8, using angle setting obtained from reading in step 9. Take care that the top angle direction trace is consistent with bottom reading.
12. Prepare sound post blank. Draw a line at one end consistent with wood grain. This will be the edge of the short end at the bottom of the sound post, thus facing the treble string side of the violin
Grain should be across (not parallel) to violin wood grain.13. Secure the sound post blank in to cutting fixture. Note position of the mark. This should end up at the short side, bottom of the sound post.
14. Use Saw Guide bracket, align with bottom angle line, cut off excess using fine tooth saw.
15. Install and set the new sound post
Tighten strings and withdraw the sound post setter <DONE>
16 Do not remove the inserter tool at this stage. First reset the bridge in its proper place.